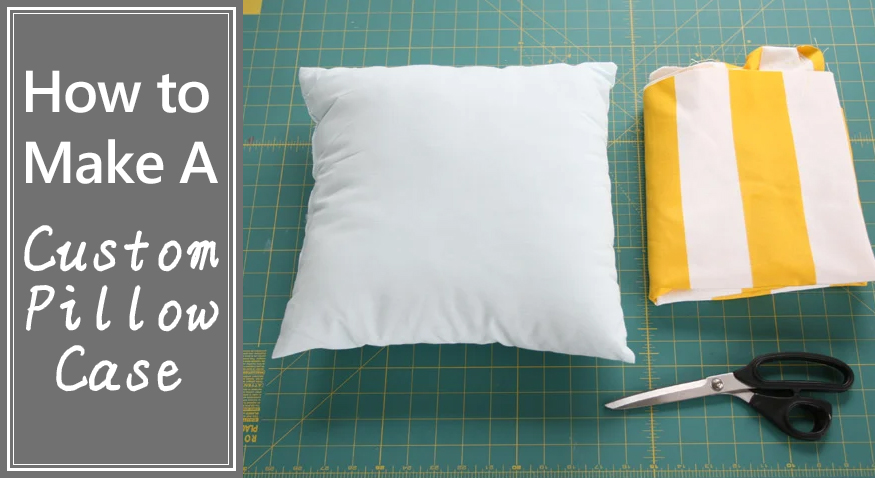
Complete bedding is always set with pillow cases. And a pillow case is not just an addition to a complete bedding set but also a vital role! Some people even buy a separate or additional pillow case for uncountable reasons.
Whether you want your pillow case per set or buy it individually, you have the options! One of which is to make your pillow case. At home! Yes, you read it right. Today, we will be discussing how you can make your pillow case. We will give you important points to remember to complete that project satisfactorily and successfully.
What are you waiting for? Let’s read on and prepare to make our pillowcases! Promise, this will be fun!
What kind of pillow case do you need?
So, before going into the step-by-step guide on making pillowcases, let us pause and think about what kind of pillowcases we need. Here are the main points you must decide on to further your Do-it-yourself pillow case project.
1. Purpose – first thing is for you to realize what this project “do-it-yourself” pillow case is for. Is this for your personal use only? Or are you making this a gift to a loved one or a friend? Do you have to prepare this in bulk for your organization? Or as a souvenir for your upcoming company event? Or will you be doing a few to decorate your living room?
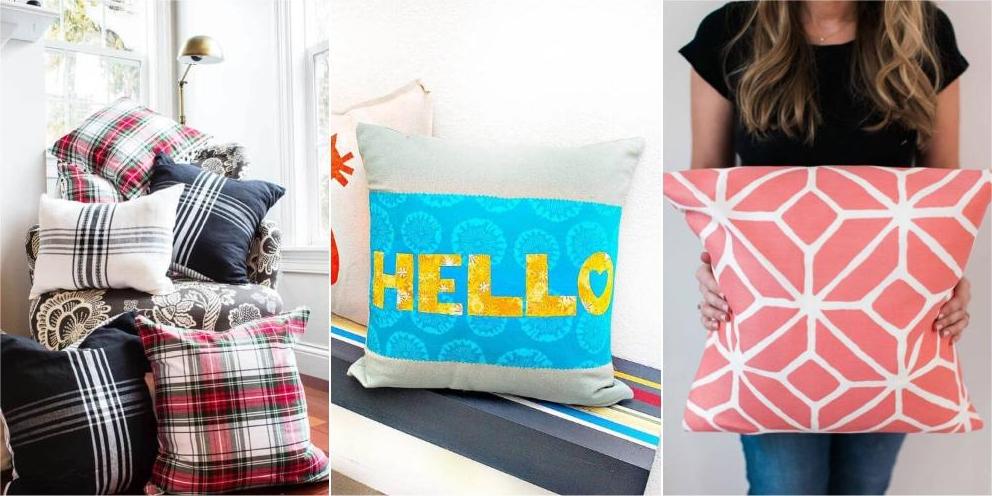
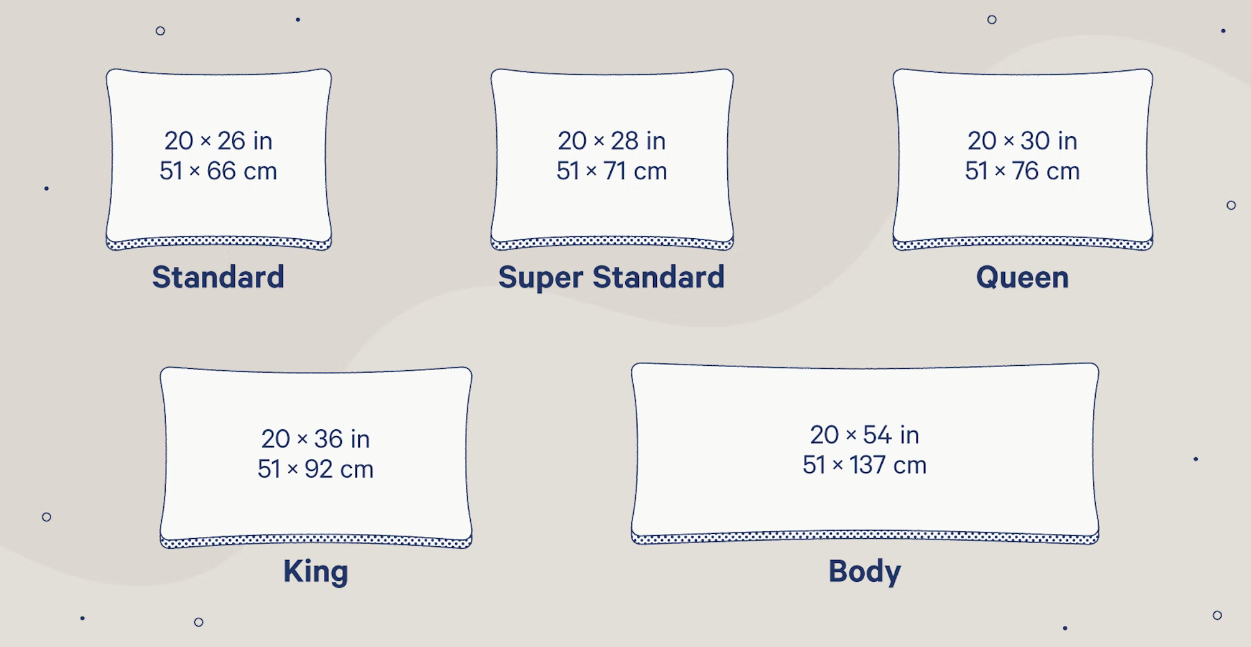
2. Size – now, having decided on the purpose of your pillow you can check for some references that you can take for the size. For example, if you are making it as a decoration at home you can pick one of your living area pillows to get a size reference. Or you can grab your bedroom pillows to measure their size. But regarding the standard pillow case measurement, you can go 20 inches by 26 inches.
3. Design – having the purpose and the right size, you are now ready to take on the design stage. Do you want a photo pillowcase, an embroidered pillowcase, or a plain pillowcase? Either way, you have to decide whichever you want with your custom pillowcase design for you to jump on to the next step, which is to start creating a custom pillow case on your own.
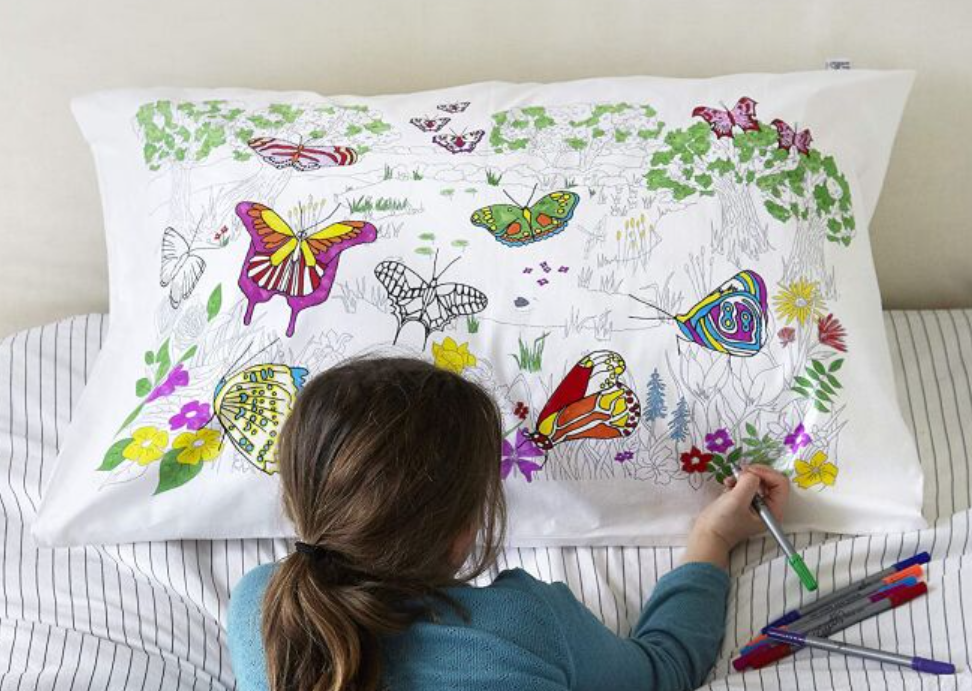
4. Shape – there are many shapes you can go by for your pillow covers. The most common are square pillowcases and rectangular pillowcases. There is also a heart shape, oval or round. It is dependent on your preference and need.

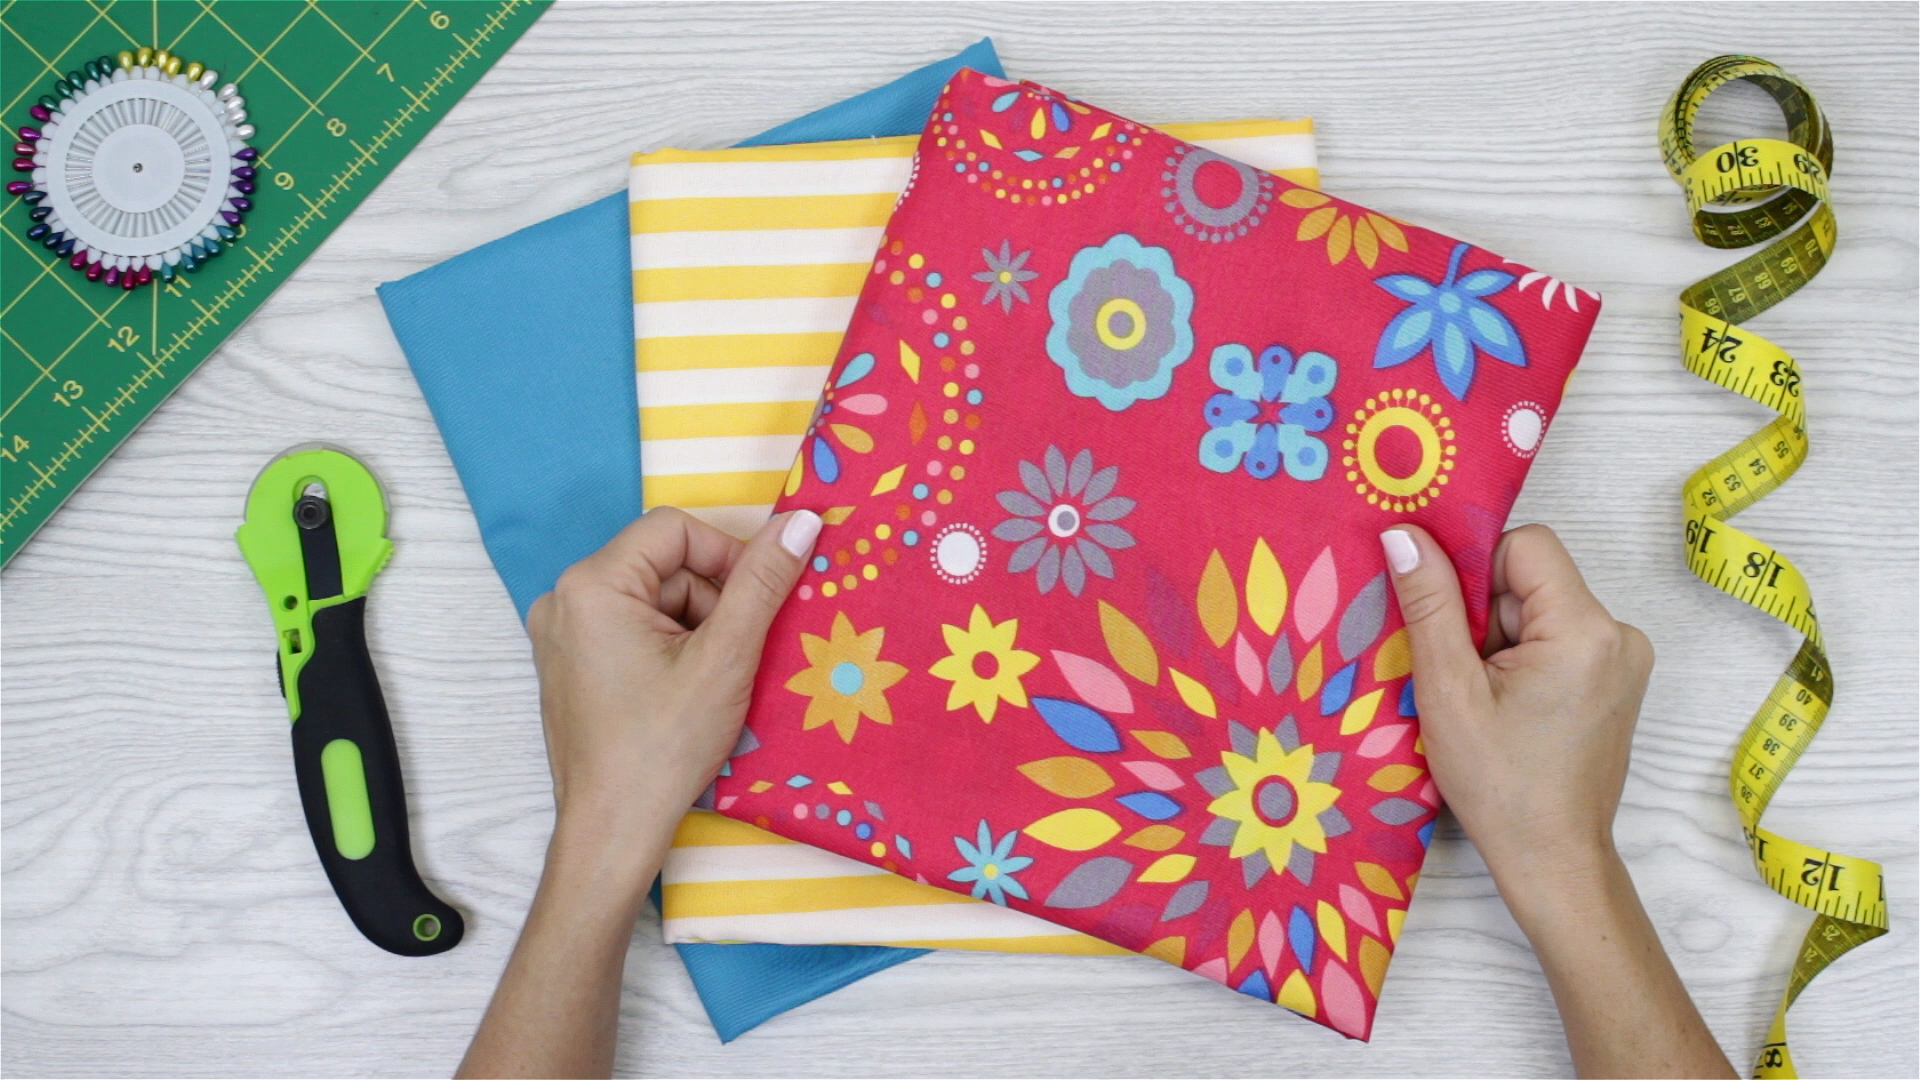
5. Materials – get going with your do-it-yourself custom pillow cover making by gathering all the needed materials. Check on the above preferences, such as the purpose, size, shape, and design, to guide you on what materials need to be checked on your list. On the next topic, we will be discussing all the required supplies for the project’s custom pillow cover.
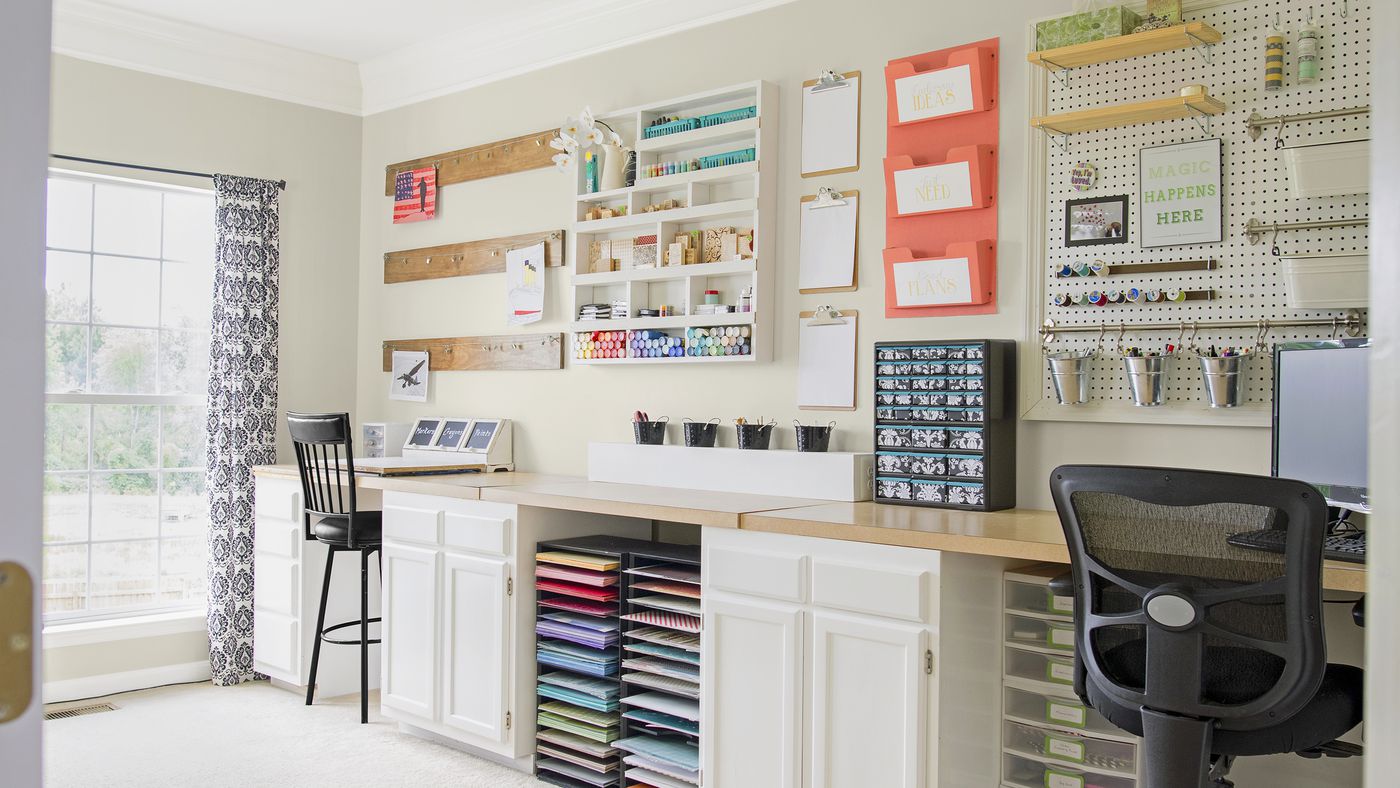
6. Area – having everything ready, including your working area. If you have a sewing area at home, then good for you. But if none, you can settle in a room or space that is quiet, orderly, and most especially well-lit. Lighting is crucial when dealing with sewing tasks because you need a bright area to ensure every stitch is right and good.
If you have run down this list and have ticked all the boxes, let us move on to the next level, identifying the basics and additional supplies you need for your project.
What are the Materials Needed
Now that you are right at this part bet you have all the details for your custom pillow cover project. Let’s get things going and take the details below to get started immediately!
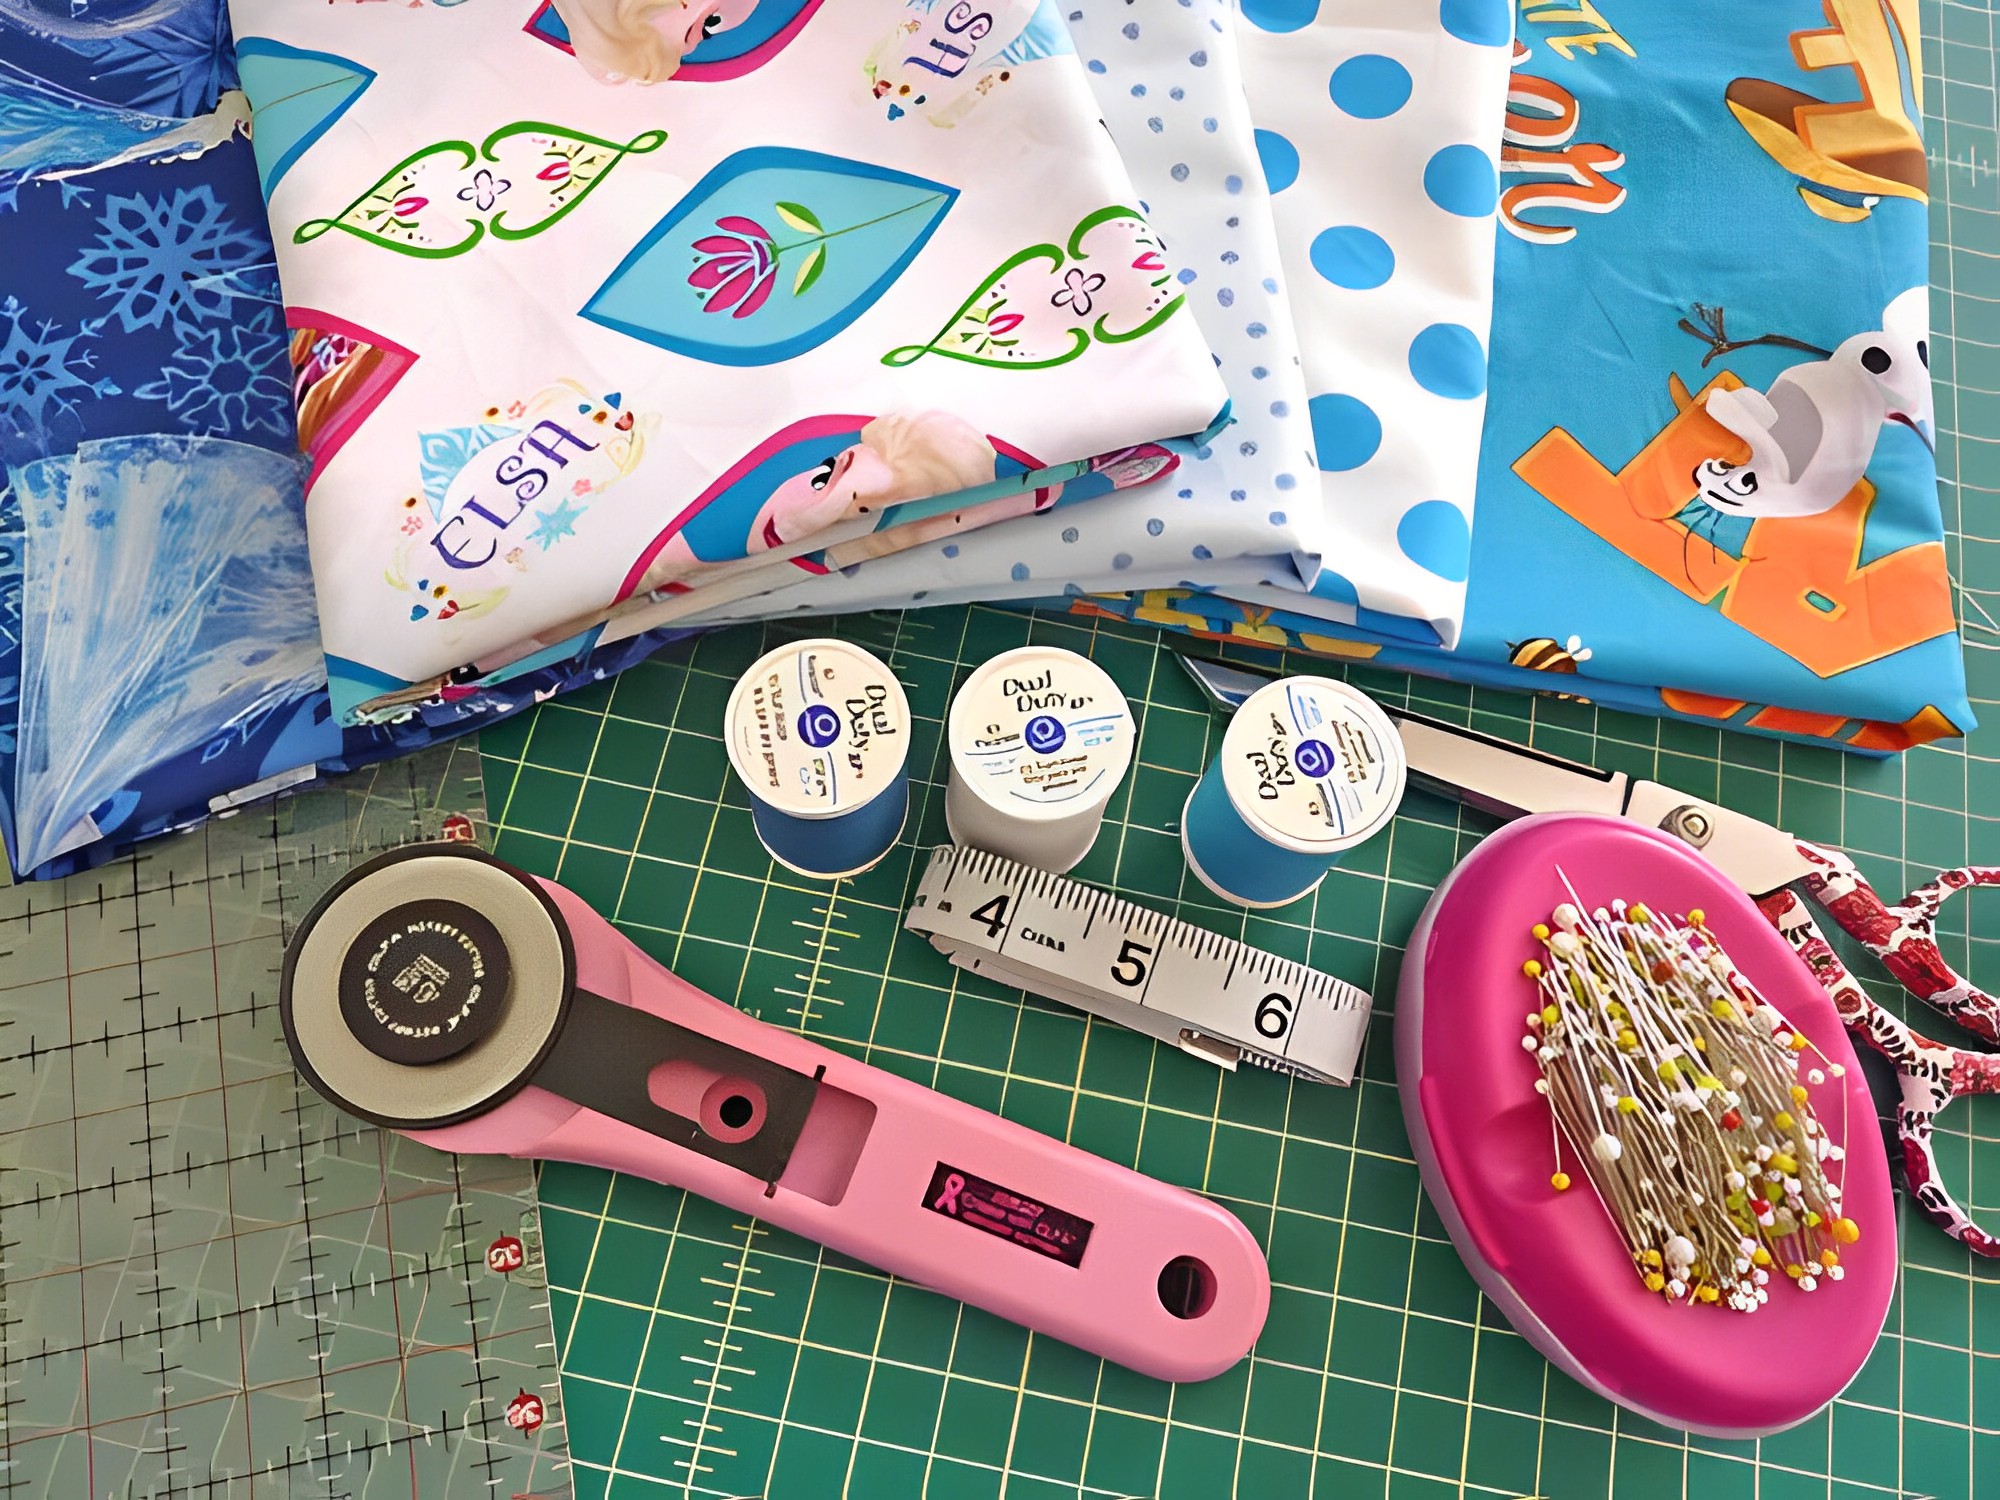
a. Cloth – of course, this will be the star of your DIY custom pillowcase project. You can choose from a series of options, such as cotton, nylon, linen, satin, silk, and premium short-pile velour. All of these can give you a satisfactory outcome depending on your preference and need.
b. Pattern – as mentioned above, options for your pillowcase shape vary. You can go by any form, right? So, by that, you can make a pattern before starting your DIY journey to ensure you have the perfect edges and curves.
c. Thread and needle – going for a hand-sewn project, you probably need this duo. You can go for an ordinary or usual thread and needle combo, but pick sturdy and durable brands for a heavy-duty task. It will make your project quick and easy. And you’ll be confident that the stitches are durable enough.
d. Measuring tape – measuring out your cloth material will be easier with a measuring tape. That’s why this item is never out of the must-ready sewing supplies. So, take note of this.
e. Scissors – of course, you probably have to cut some pieces, and a reliably sharp pair of scissors will be helpful. Keep this ticked on your list!
f. Pin – this may be useful when cutting or measuring a pattern to a cloth. Always have them ready in case you need them in any way.
g. Sewing chalk – another must-have when transferring your pattern to the cloth is sewing chalk. This is better than using a pencil or pen since it will be washed off easily.
h. Sewing machine – everything will be fast and easy if you have a sewing machine. It will even give you different stitches for your project. If you don’t know how to hand-sew, you probably can grab a sewing machine for help.
The step-by-step guide to making custom pillowcase
Ready? So, everything is set and prepared. You are now ready to make your visions into reality! Here is a step-by-step guide to making your custom diy pillowcase successful.
1. Double-check everything. Ensure everything is prepared, and all the materials in your list are checked.
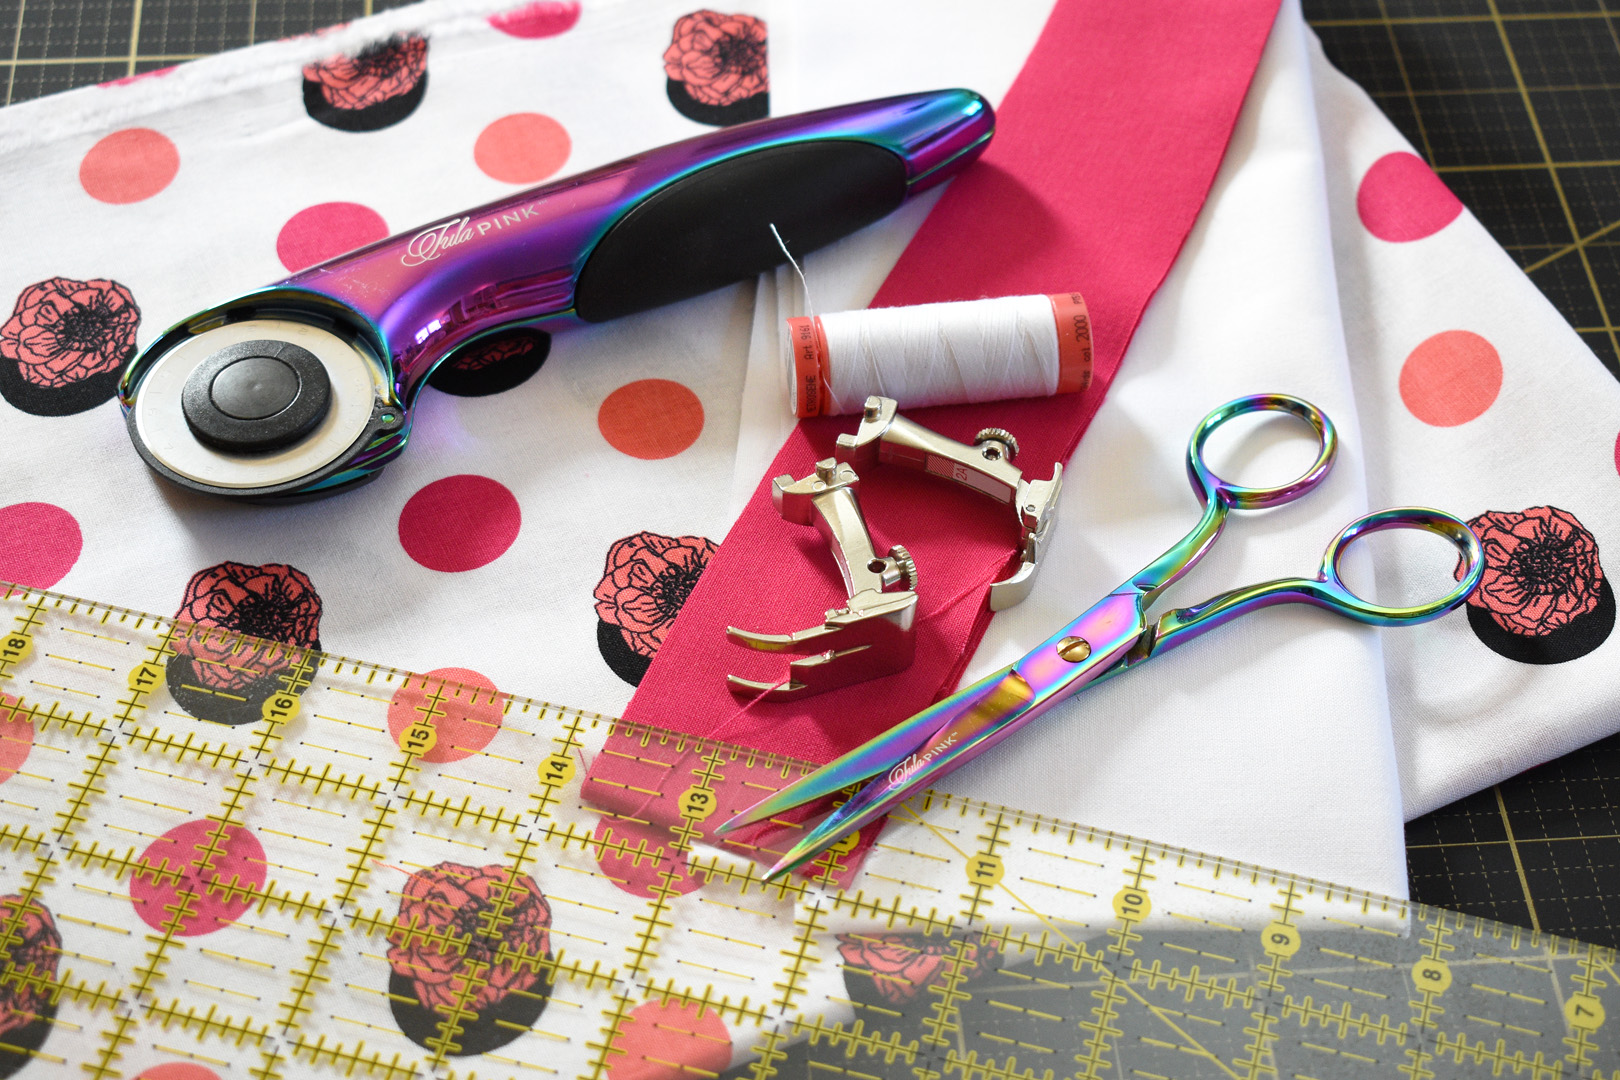
2. Set everything on hand reach. Be sure to know where you placed everything you need before starting. You’d have easy access if you need one right away.
3. Grab your pattern and cloth. Lay or fabric flat on your sewing table. Make sure there are no bumps. Lay your design over the fabric and secure it with a pin.
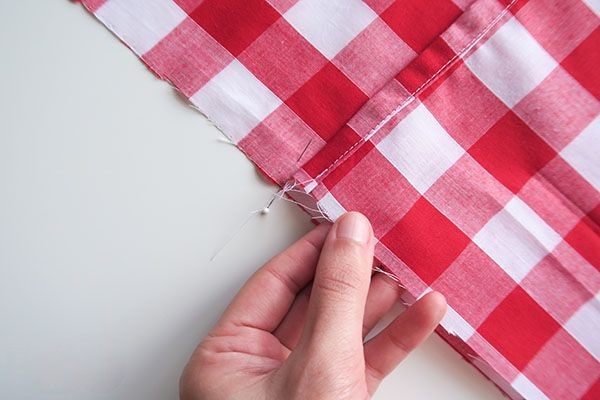
4. Measure. Ensure all the edges are in the correct measurement and pinned accordingly.
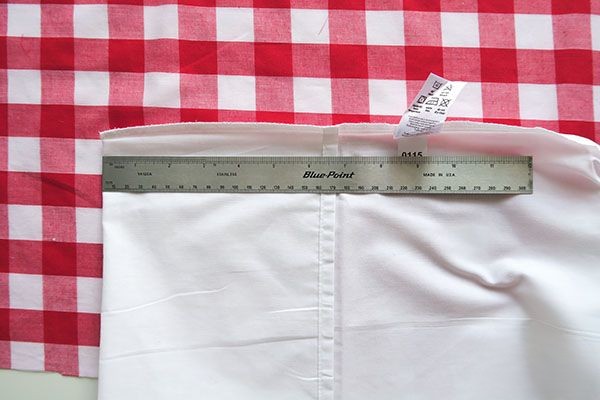
5. Cutting. Cut off the patterned shape on the cloth slowly and surely. There’s no backing up when you strike your first cut.
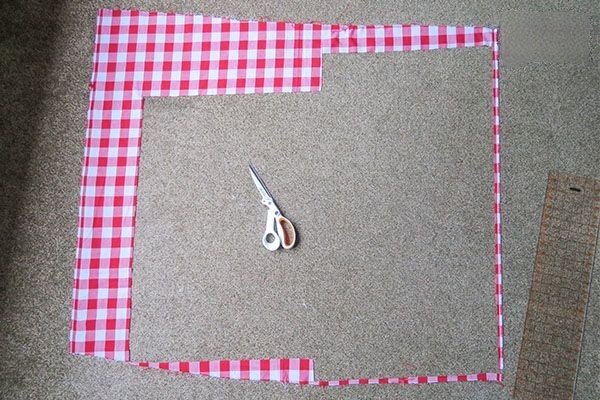
6. Stitching. If you hand sew your pillow case, use a more vital stitch type to strengthen your stitch hold. Stitch everything through and secure it as you finish.
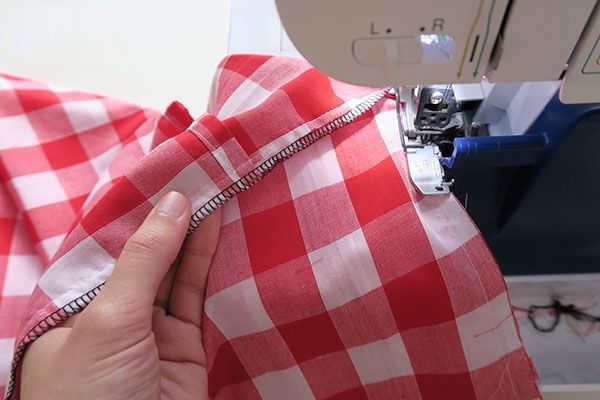
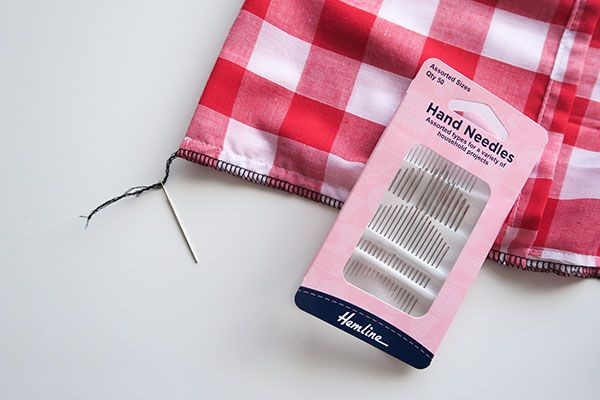
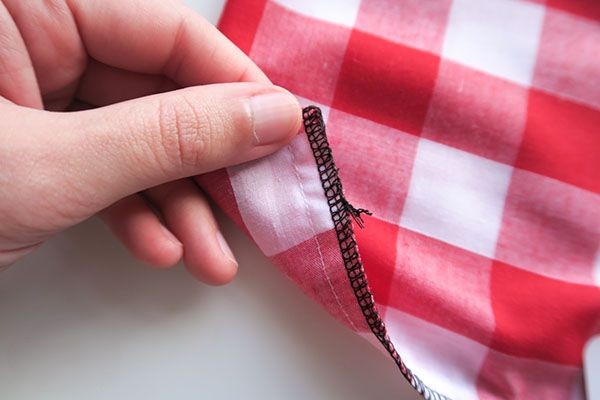
7. Cleaning. Make sure everything is in its proper place. Cut off any excess threads or edges to have a cleanly sewed pillowcase.
8. Ironing. This is optional but will help you check if all the edges are the right size and cuts. It will also finish off your project like a pro. Of course, you can toss it to a washing machine or hand wash it right after!
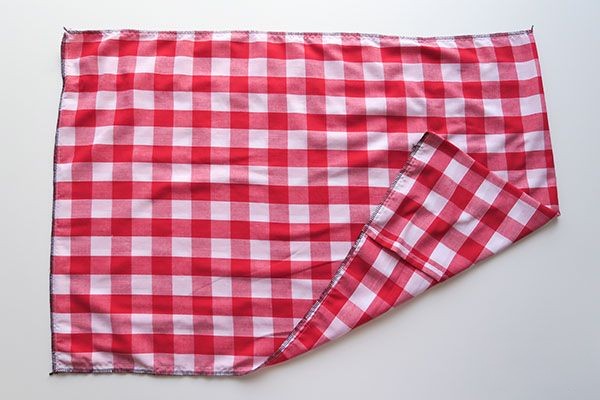
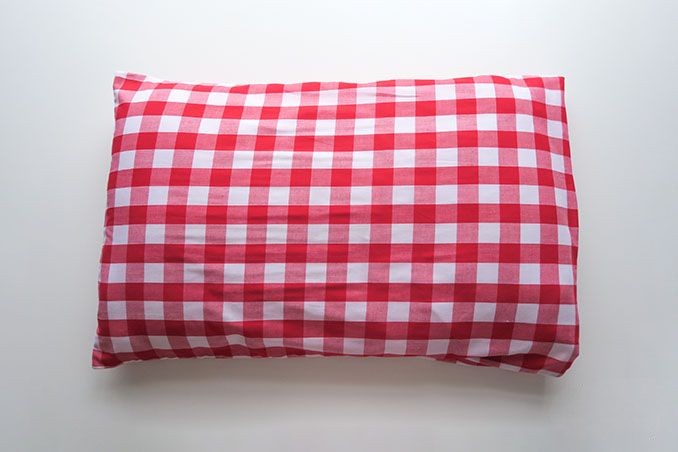
There you have it, ladies and gents! Easy peasy, right? But if you make this in bulk or for a special occasion, guess you’ll have a hard time. If you have ample time, why not? But if you value your time more and would go the easy, fast, and reliable way, then a good manufacturer of the pillowcase is the answer!
Where to buy the Best Pillow Cases
4inBandana is the answer to your problem. They are well equipped and well experienced when it comes to any custom pillowcase project. As if you are DIY-ing your piece! Only that you rest assured they are durable and of high-quality finish.
4inBandana supports the customization of pillow cases of various sizes and shapes. Currently, the most popular ones on their website are regular square pillow covers and rectangular pillow covers, each of which has a variety of sizes to choose from!
In the meantime, you can also customize personalized patches on the throw pillow covers by visiting 4inCustompatch!
Yes, read it right. They are a reliable custom pillowcase manufacturer in the USA that offers a quick ordering process for custom pillowcases. To know more about what they offer, check their website NOW!


